
Prerequisites
Before connecting, create a dedicated Prizm role in Snowflake and grant it the minimum required permissions. Run the script below for each database you want to include.Connector Setup
Open the connector wizard
Navigate to Settings → Connectors and click “Add”. Select Snowflake from the source type grid.
| Field | Description |
|---|---|
| Connection Name | A label for this instance (e.g., snowflake-prod) |
| Description | Details of the connection |
| Account Identifier | Your Snowflake account locator (e.g., xy12345.us-east-1) |
| Warehouse | The virtual warehouse Prizm will use to run queries |
Choose an authentication method
The admin/privileged user can select any of the following authentication types, provide the authentication details for the selected authentication type and click on Next
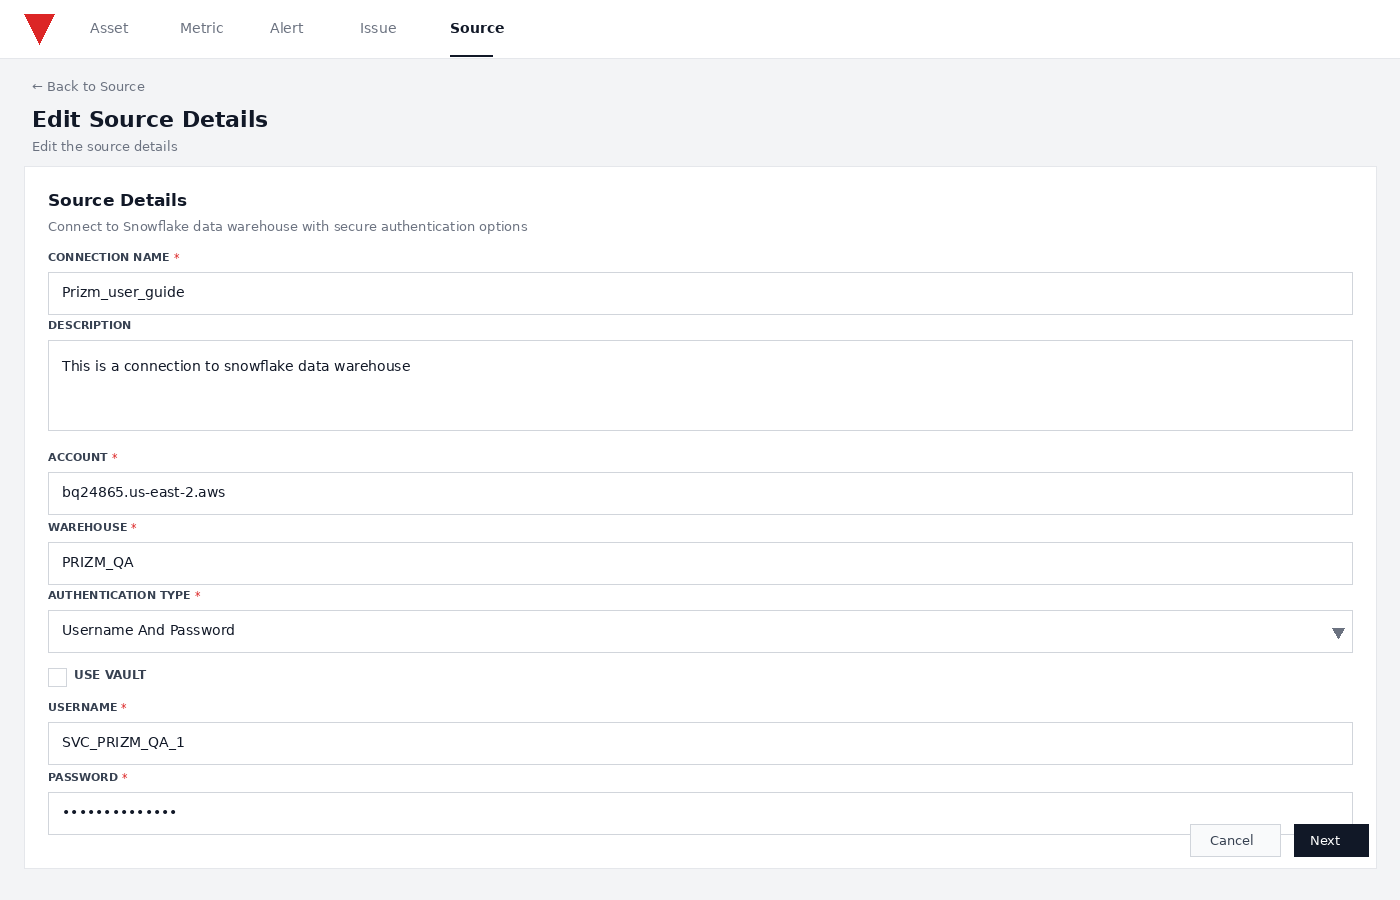
Username & PasswordSelect Username And Password from the Authentication Type dropdown, then fill in the following fields: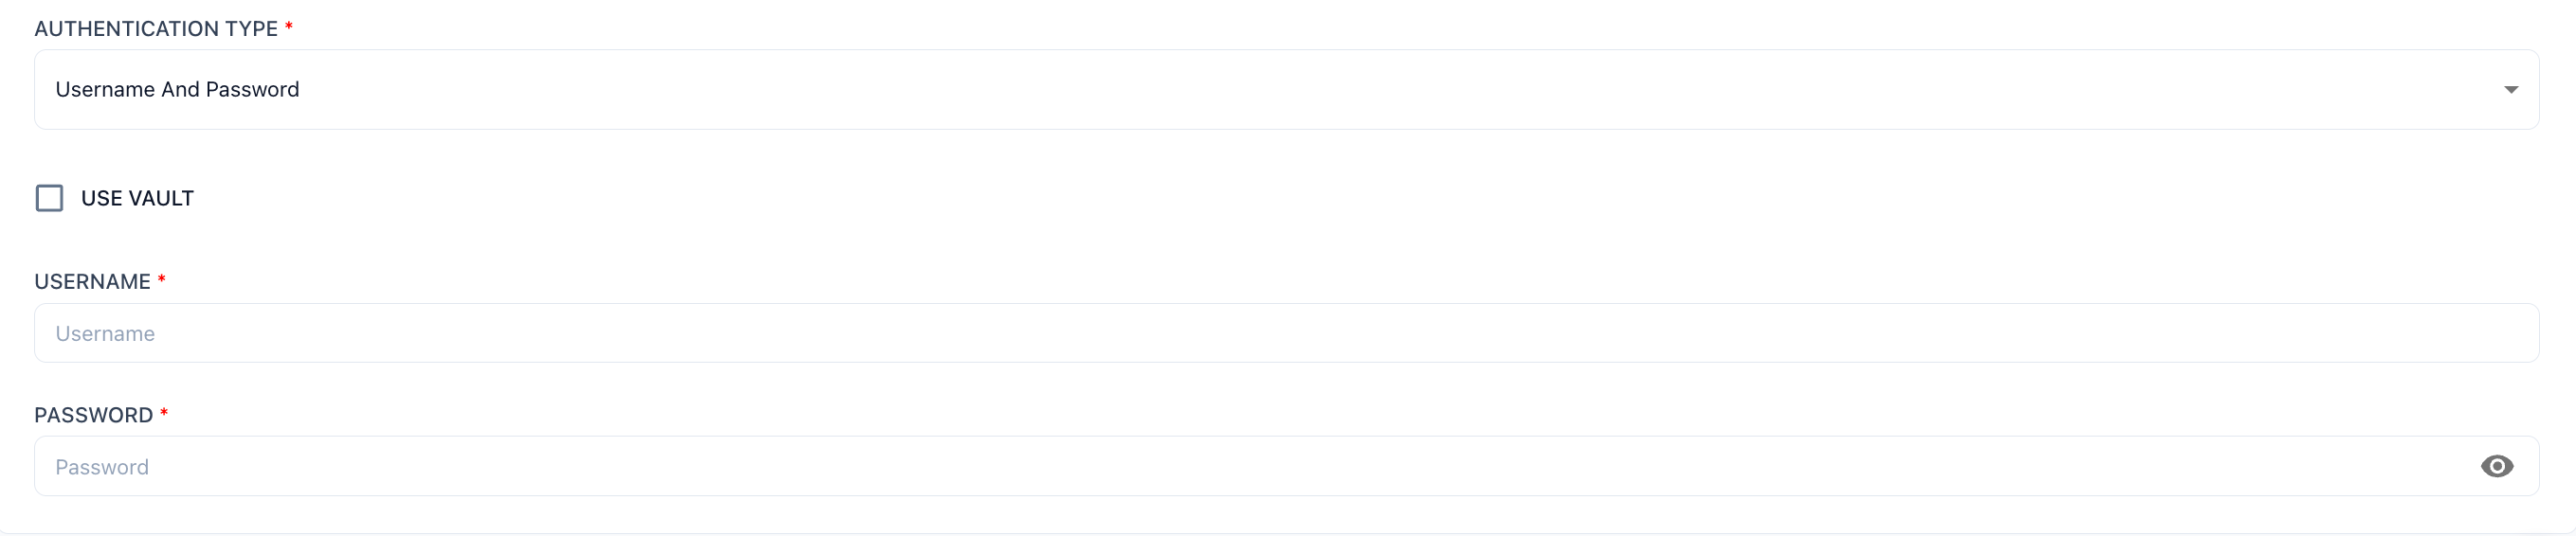
No additional Snowflake-side setup is required beyond the service account created in the Prerequisites step.
Key Based AuthenticationSelect Key Based Authentication from the Authentication Type dropdown. Key pair authentication uses an RSA private key instead of a password.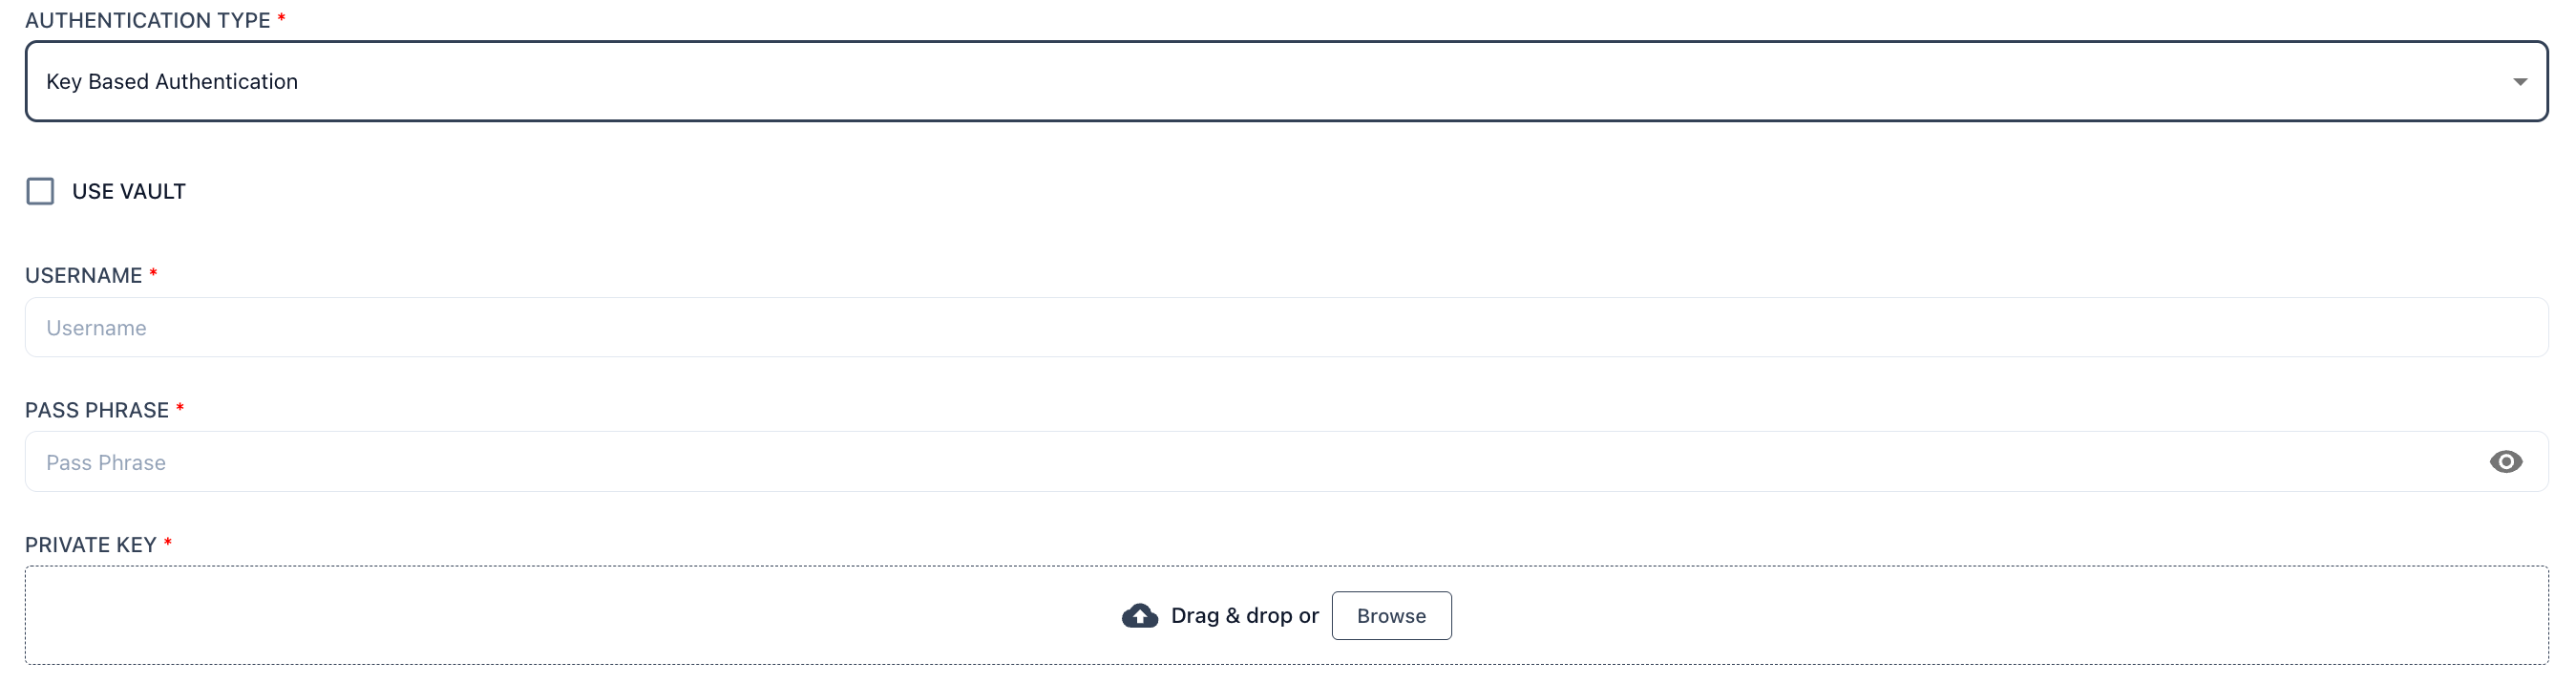
OAuthSelect OAuth from the Authentication Type dropdown. Prizm acts as a confidential OAuth client against Snowflake’s authorization server.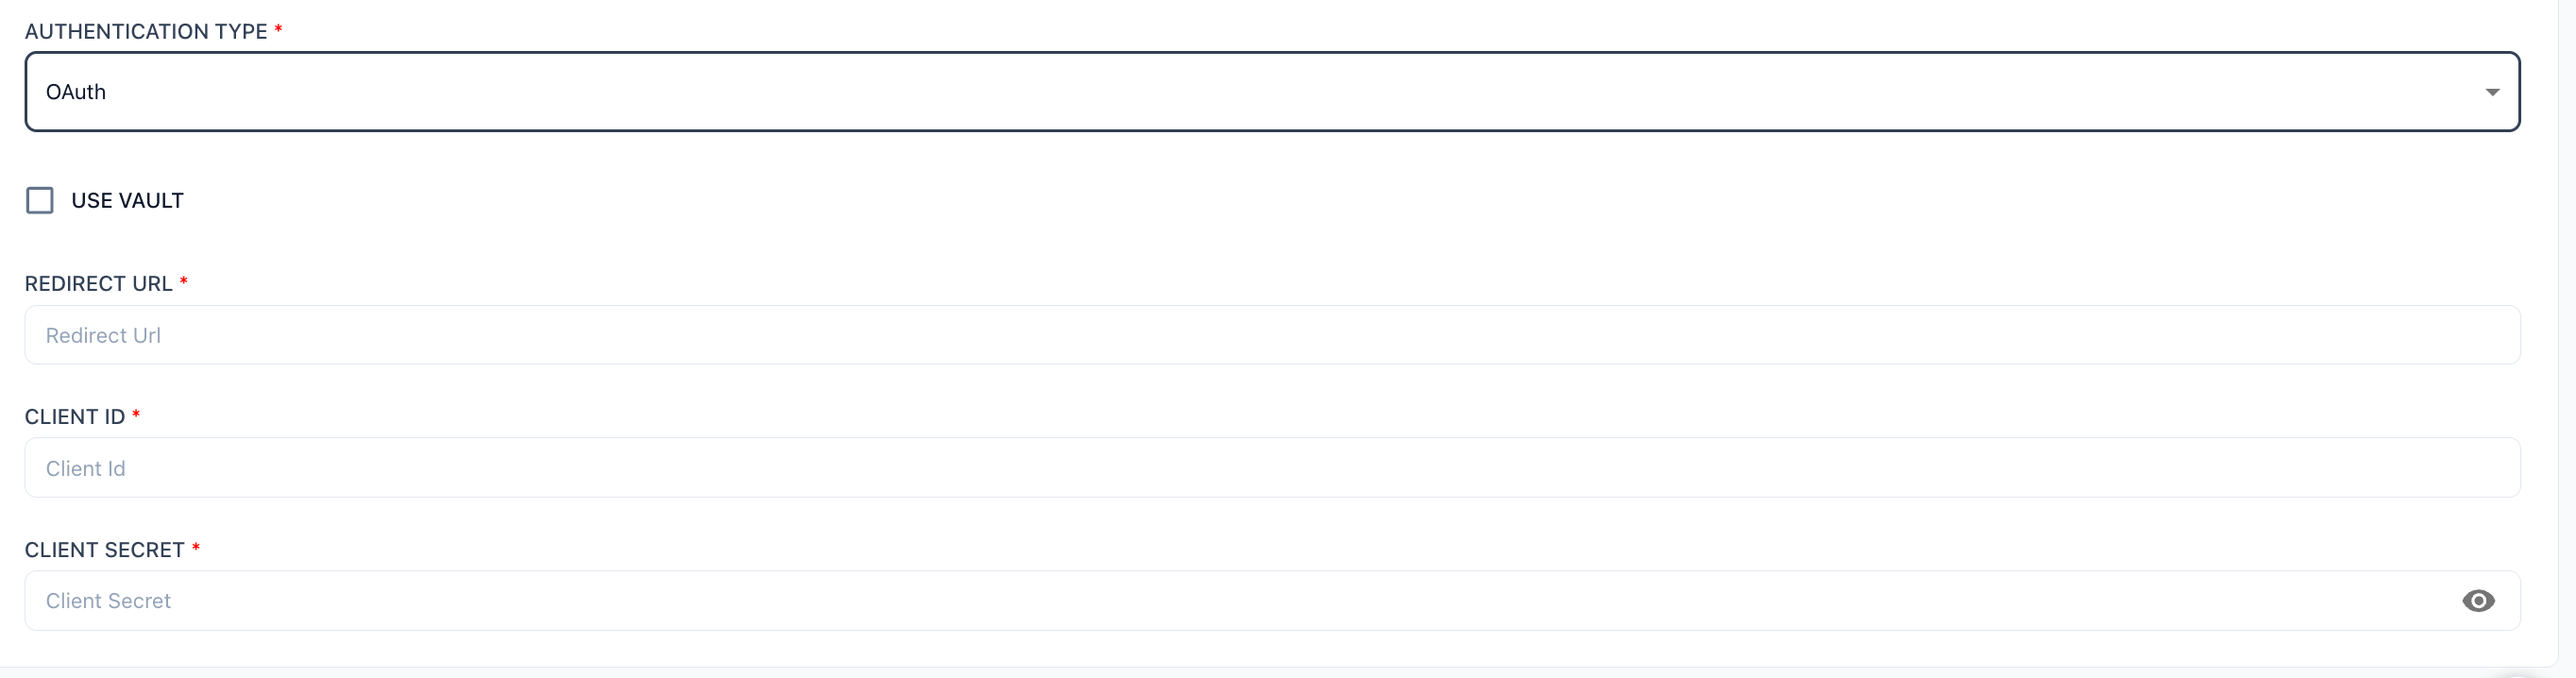
| Auth Method | How to Configure |
|---|---|
| Username & Password | Create a dedicated Prizm service account in Snowflake with PRIZM_ROLE. Enter the username and password in the connection form. |
| Key Pair | Generate an RSA key pair. Assign the public key to the Snowflake user with ALTER USER SET RSA_PUBLIC_KEY. Upload the private key (.p8) in Prizm. |
| OAuth 2.0 | Create a Snowflake OAuth security integration. Enter the Client ID and Client Secret in Prizm. |
Username & PasswordSelect Username And Password from the Authentication Type dropdown, then fill in the following fields:
| Field | Description |
|---|---|
| Username | The Snowflake service account username assigned PRIZM_ROLE |
| Password | The account password |
Key Based AuthenticationSelect Key Based Authentication from the Authentication Type dropdown. Key pair authentication uses an RSA private key instead of a password.
| Field | Description |
|---|---|
| Username | The Snowflake user the public key was assigned to |
| Pass Phrase | The passphrase used when generating the private key (leave blank if generated with -nocrypt) |
| Private Key | Upload the .p8 private key file via drag & drop or Browse |
OAuthSelect OAuth from the Authentication Type dropdown. Prizm acts as a confidential OAuth client against Snowflake’s authorization server.
| Field | Description |
|---|---|
| Redirect URL | Copy from the Prizm connection form and use as OAUTH_REDIRECT_URI when creating the integration |
| Client ID | The OAuth client ID returned by SYSTEM$SHOW_OAUTH_CLIENT_SECRETS |
| Client Secret | The OAuth client secret returned by SYSTEM$SHOW_OAUTH_CLIENT_SECRETS |
Configure asset scope
Once a valid authentication details are provided, the user will be taken to the asset selection page, use Include and Exclude wildcard patterns to control which objects are onboarded.
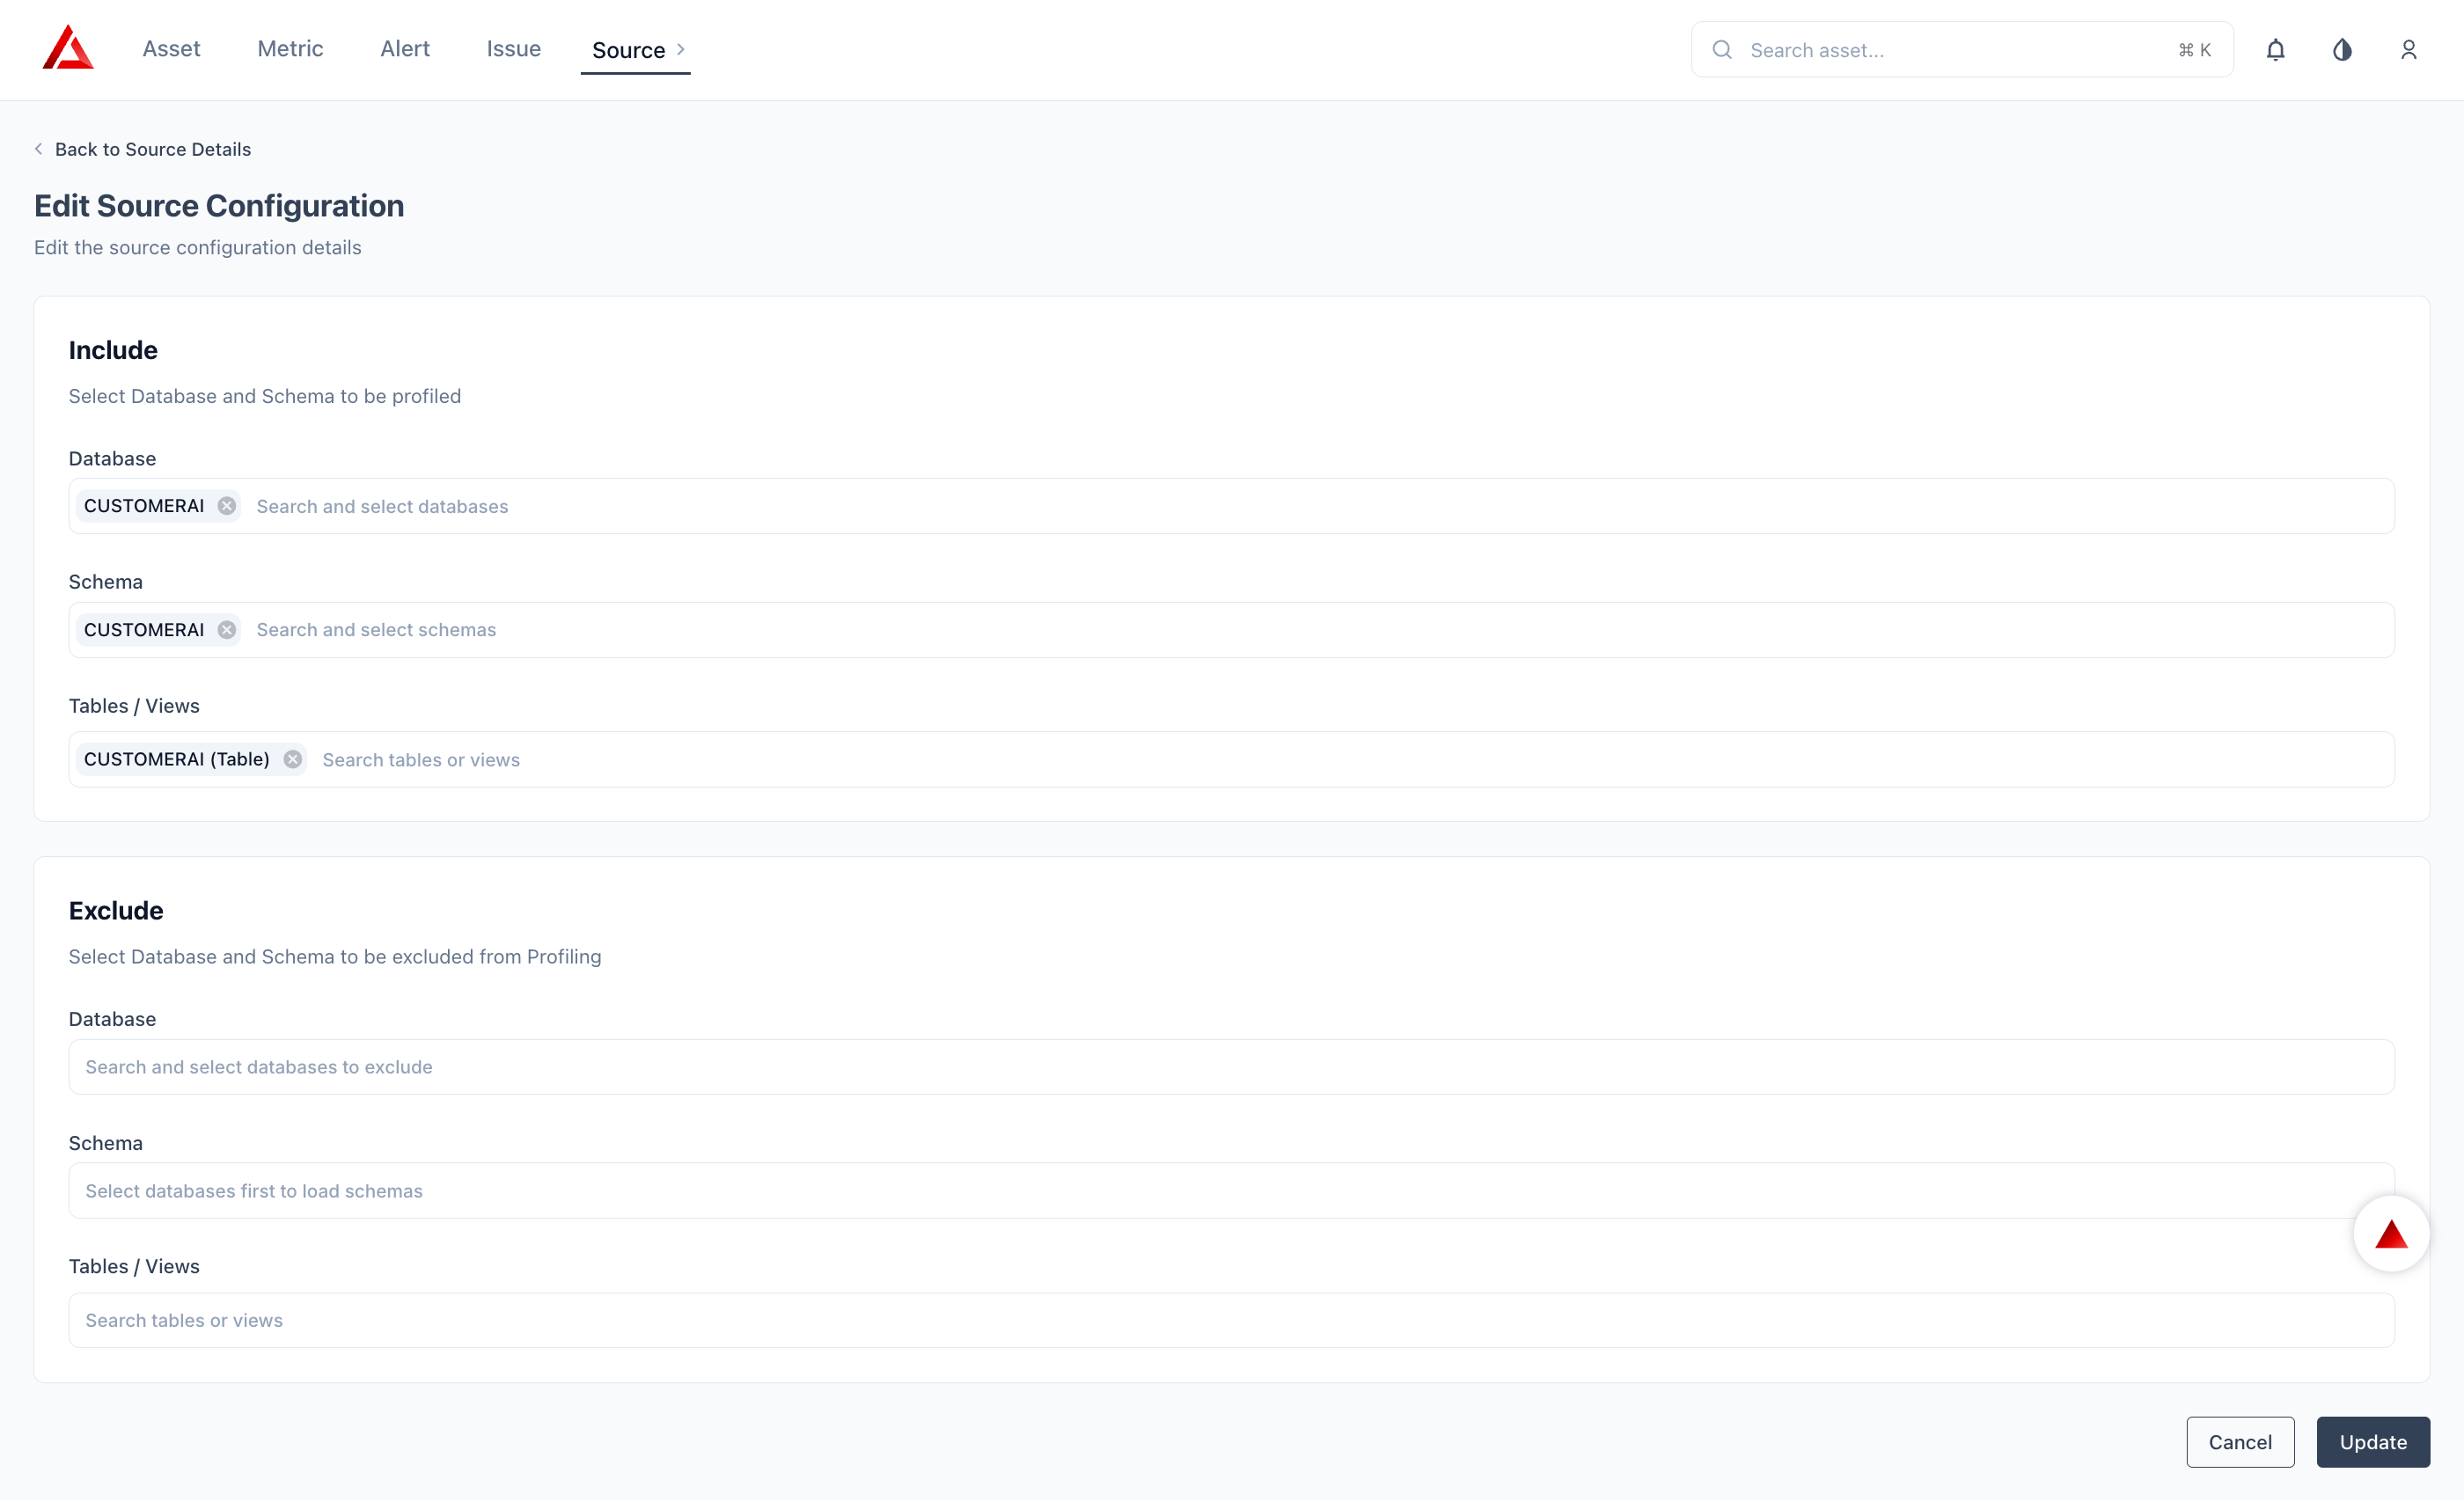
| Level | Example Patterns |
|---|---|
| Database | Include: ANALYTICS_DB, PROD_DB — Exclude: DEV_*, SANDBOX_* |
| Schema | Include: PUBLIC, REPORTING — Exclude: TEMP_*, _INTERNAL |
| Table/View | Select the required table/view from the drop dowm |
Exclude rules take precedence over include rules when both match the same object.
Job schedules
| Job Type | Default | What It Does |
|---|---|---|
| Observability | Hourly | Volume, freshness, schema change, anomaly detection |
| Catalog | Daily | Databases, functions, procedures, tags, streams |
| Pipeline | Hourly | Task and Snowpipe run history |
| Performance | Daily | Query stats, warehouse compute, storage cost |
Next Steps
What We Collect
See the full field-level breakdown of every metadata object Prizm extracts.
FAQ
Common questions about credentials, scoping, and permissions.